Upon moving into our home 6 years ago I dreamt of landscape lighting. I have always loved the way low voltage lighting adds drama to your home and landscape at night and as an avid gardener I love enjoying my hardwork day or night, so over the next year or two I obtained several quotes for exterior landscape lighting, all mind-boggling. The first quote floored me… $50K. Wait, excuse me, did I just hallucinate? Were these lights solid gold or set to music? In shock, I let a few years pass before I decided to get another, new quote from a different and trusted landscaper and friend, $50K. That was last summer and at this point I was just willing to let my slowly fading solar lights do their thing because there was no way I was spending that much on lights for outside of our home.
In March of this year though I had a plan, we were going to do it ourselves! Upon sharing this info with my husband he alerted me to the fact that I was indeed crazy (a known fact) and “in over my head.” I assured him that low voltage landscape lighting was definitely DIY friendly and did not require the use of an electrician (well, our Phase 2 outdoor lighting project did, but more on that in a future post!) and that we could most definitely do it ourselves. Low voltage lighting uses a transformer that transforms the wattage coming from your home’s exterior outlet and transforms it to lower voltage to power low voltage lights and the lines can be buried just under the topsoil or mulch. So after a trip to my local home improvement store to do some researching and browsing, number crunching and planning, I arrived home with a game plan.
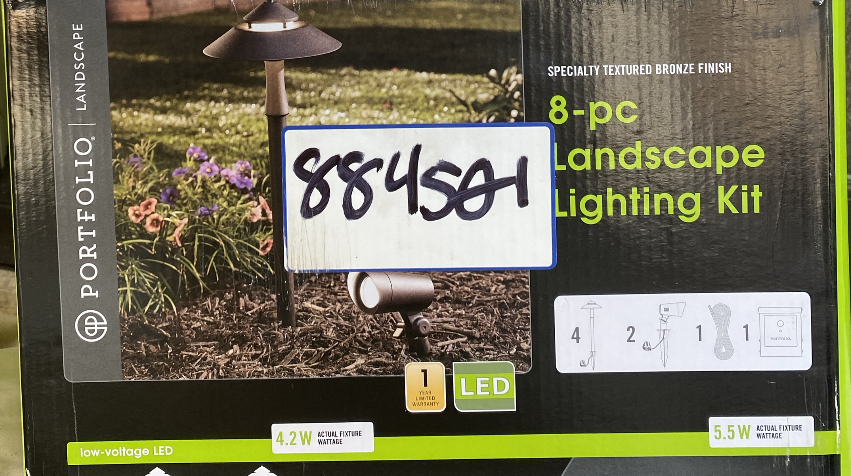
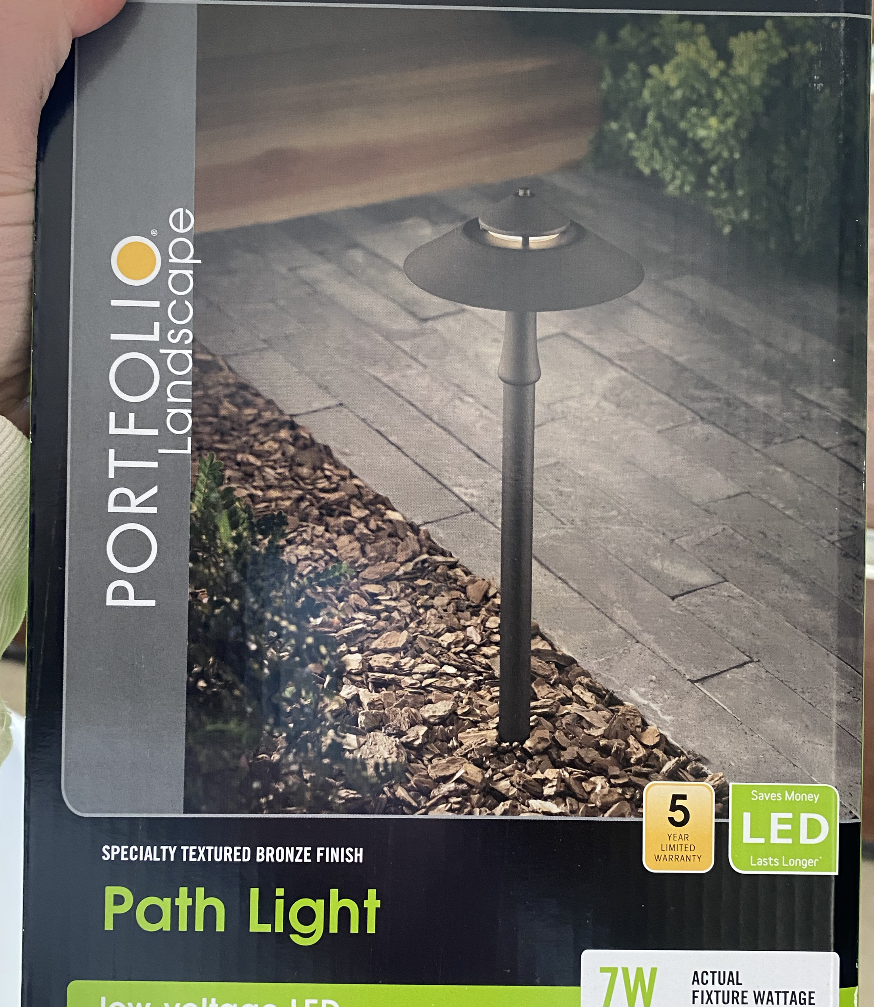
Phase 1 of our project just involved lighting up the front of our home and the lower rear of our home where it was often dark at night. Upon knowing those locations and their needs, plus the fact that our dying solar lights sat where I’d likely want low voltage lights I assessed what we’d need and it turns out the store had a kit that would do just what I would need and I could add on to it. It came with 4 path lights and 2 spotlights, plus the line and transformer. Perfect, I could install a kit on each side of our front entry and another kit in the backyard. Between the kits plus two additional path lights for both the front and backyard project, additional 16-2 line, electrical tape and waterproof cable connecters we were ready to install. I made my purchase and spent a teeny fraction, 1% to be exact, of the astronomical quotes I had received for outdoor lighting.
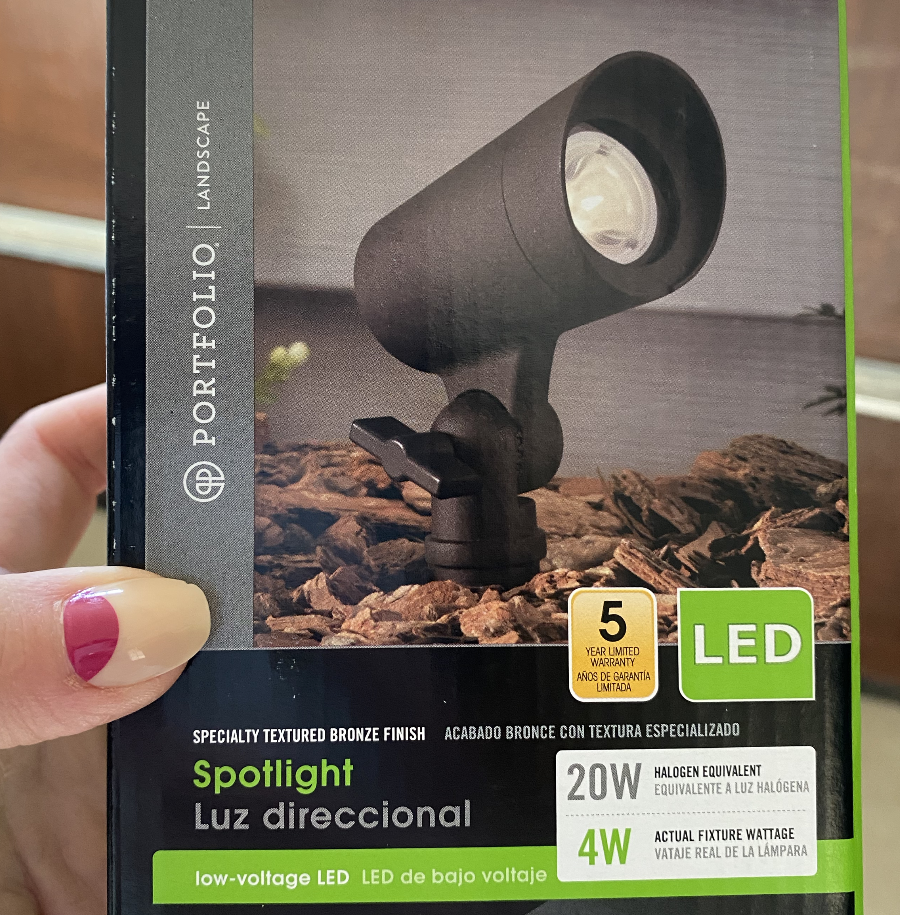
Upon getting the kits home we assembled each light and I placed them where I wanted pathlights or spotlights. Jeff got the transformer set up and on its stand. We then began to run the wire starting from the transformer to each light. We then secured the lights onto the line, which is so easy. The line slides in and you screw on a cap that pierces the wire. Just leave yourself a bit of slack since you will want to check your lights at night to ensure their proper placement, so if you need to move your light over 3 inches you’ll want a bit of room in your line. Once all the lights are wired on you can go back and wire the low voltage line to the transformer and once that is complete you can plug your transformer in. These transformers run on a photoeye, so if it’s dark out they turn on and automatically turn off in the morning. We covered the photoeye to ensure each light worked. At night we came out to check our lighting placement and to our surprise we did pretty perfect. The following day we then came back to bury the line below the dirt/mulch. Do not bury your line until you check your light placement!
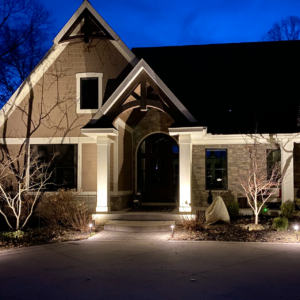
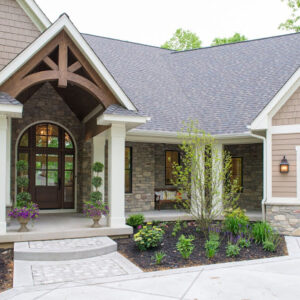
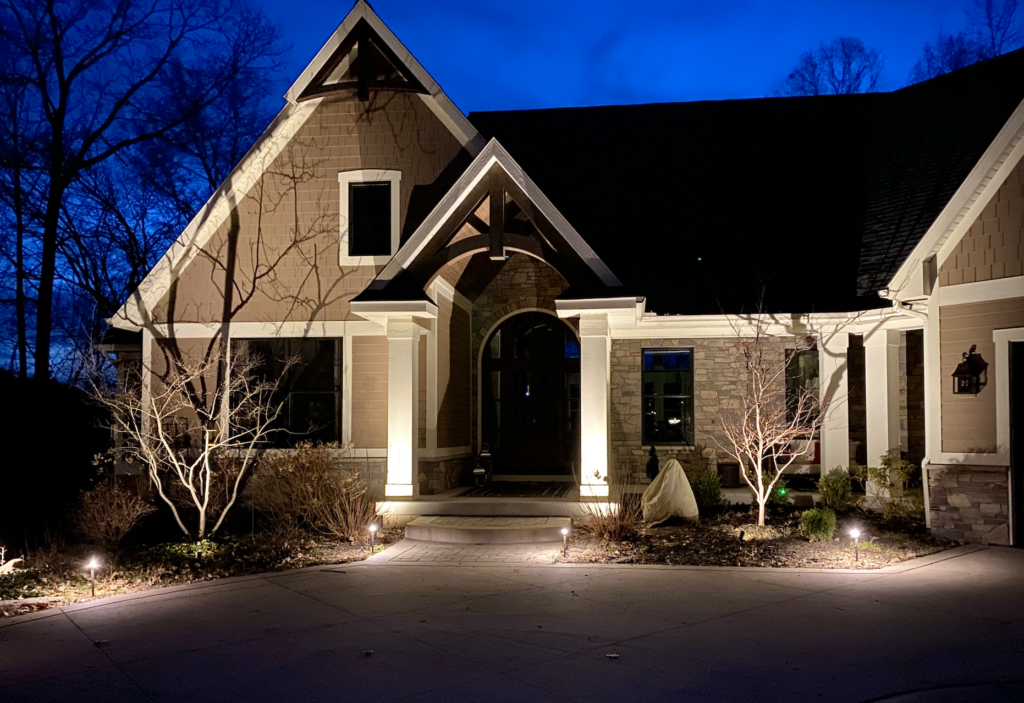
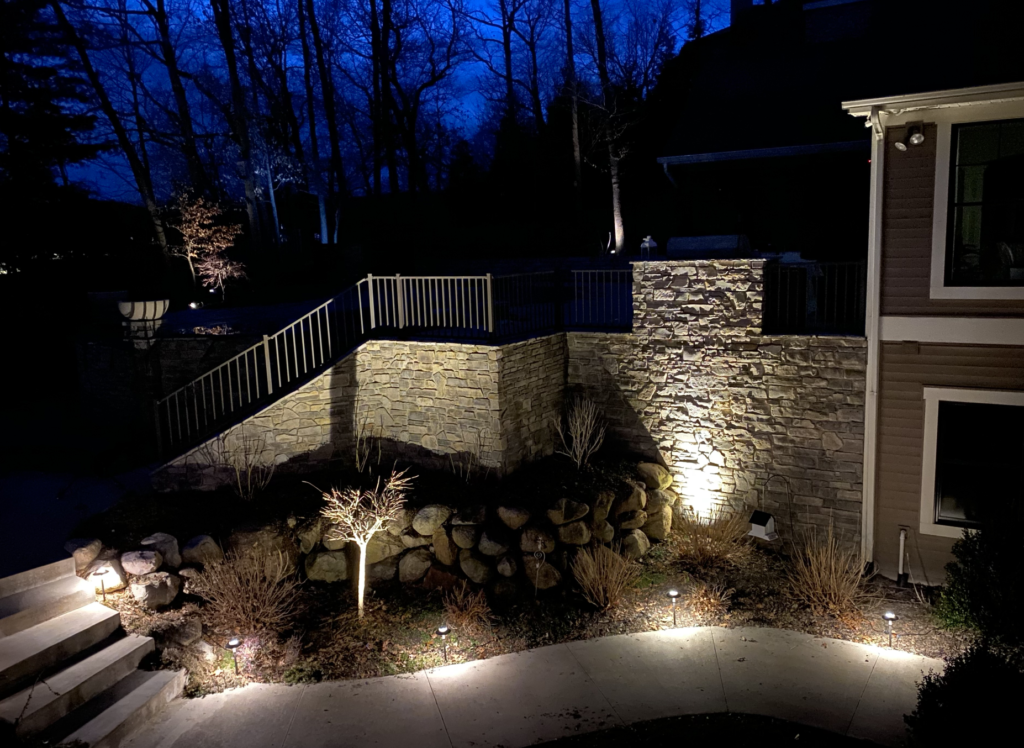
We did this to light up the front of our home on either side of our entry path and I love how it turned out. We did add two additional pathway lights to the kit on the left side of our home, so we could light up the stepping stone path that goes down the side of the hill. And in the back of our home, that installation went even smoother. By now we were apparently more than just DIY exterior lighting novices, we were amateurs. We added two additional pathlights to this kit too (I love that you can add on to these kits!), so that we could have additional light along the pathway and up the stairs. Now the entry and exit from our downstairs slider out the path and up the stairs to our outdoor firepit and pool are lit at night!
But we went big time when we offered to do the front of my parents home in DIY low voltage lighting! I met my mom at the home improvement store and helped her pick up everything we would need for the project. Again, we assembled the lights, placed them, ran the wires, hooked up the transformers and VOILA. It turned out so well, the light placement was spot on, and the look at night is so stunning. My parents also purchased two kits, one for each side of their pathway because running line under a pathway is above my pay grade. Instead with plugs on either side of their front porch, we went that route and honestly these smaller transformers cannot carry the load of all the lights. Now in Phase 2, we did huge transformers and way more lights and ran over 400′ of line, but again, that’s in phase 2. Anyway, I think it looks just lovely wouldn’t you agree?
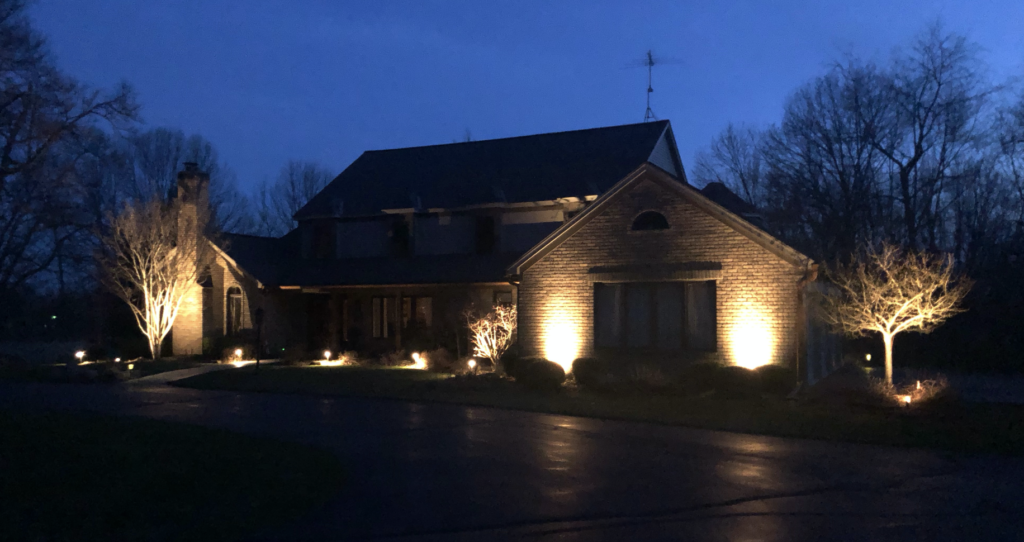
If you try your hand at DIY exterior low voltage landscape lighting, please let me know. I would love to see your pictures and how you’ve improved your home and garden’s aesthetic at night!


